
Googleアカウントをお持ちであることを前提に説明を作成していますが、
そのほかの作成方法で進められる方は進めてもOKです
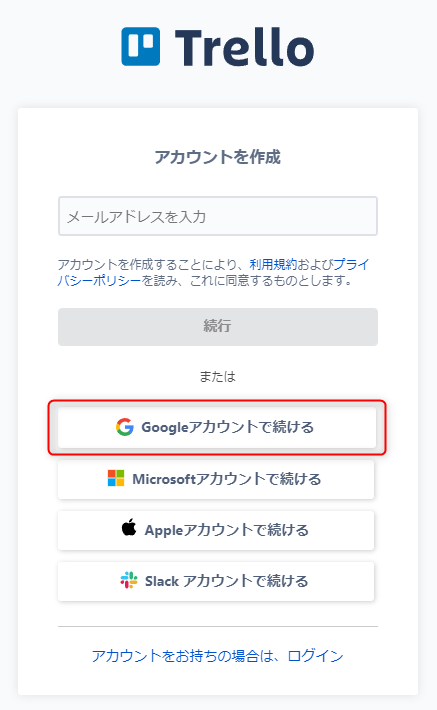
Trelloのアカウント作成画面に遷移
上記のURLをクリックして、Trelloのアカウント作成画面に遷移しましょう
Googleアカウントで続ける を選択
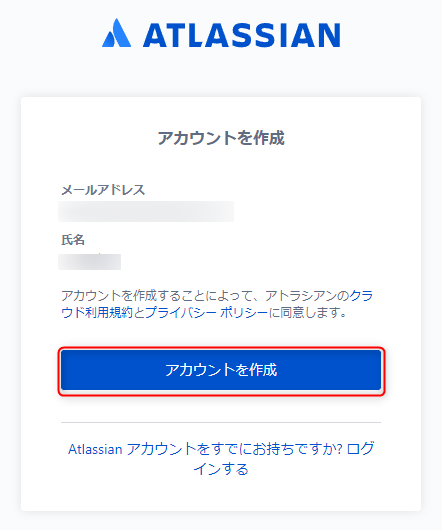
アカウントを作成 をクリック
ワークスペースの設定
Trelloからワークスペースというものの設定を求められます

ワークスペースとはチームで仕事をするTrello上での場所
という認識でよいでしょう
なのでそれに適したお名前を付けてあげましょう
※ここでは1on1ミーティングシステムを作成するつもりなので、1on1と名付けてます
メールでの招待も後ほど出来ますので、現時点では不要です
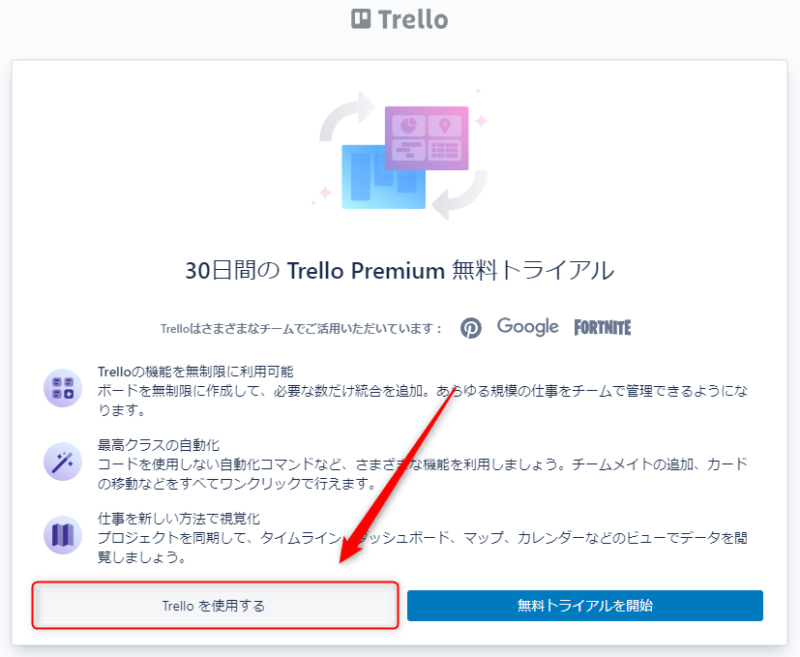
無料トライアルの誘いを無視
場合によっては、無料トライアルのお誘いが来るかもしれませんが、
使い慣れてからでよいでしょう
Trelloアカウント作成完了!
これだけでアカウントの作成は完了します😊
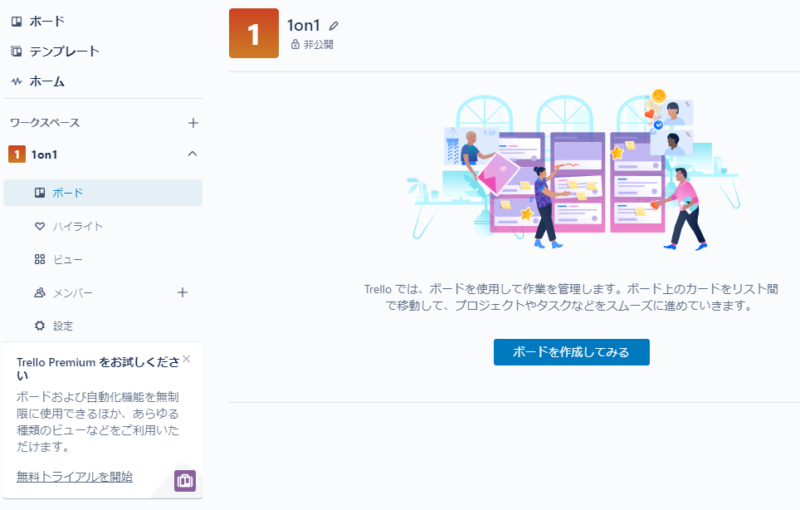
おつかれさまでした。
その他の記事から来られた方は、引き続きそちらの記事をご参照くださいね
コメント